Photo #1
What does your backyard need - more shade? ... more privacy? ... more beauty? This latticed summer house lends itself to all these requirements. It's big enough for in-the-shade picnicking or relaxing, lends itself to seclusion (especially if climbing roses or vines are planted to grow gracefully up the lattice work), and it will add that extra touch of outdoor charm and beauty to your yard that women particularly enjoy. It will make an excellent playhouse for the children too.
If desired, you can convert this summer house into a winter time storage shed by lining the inside with building paper.
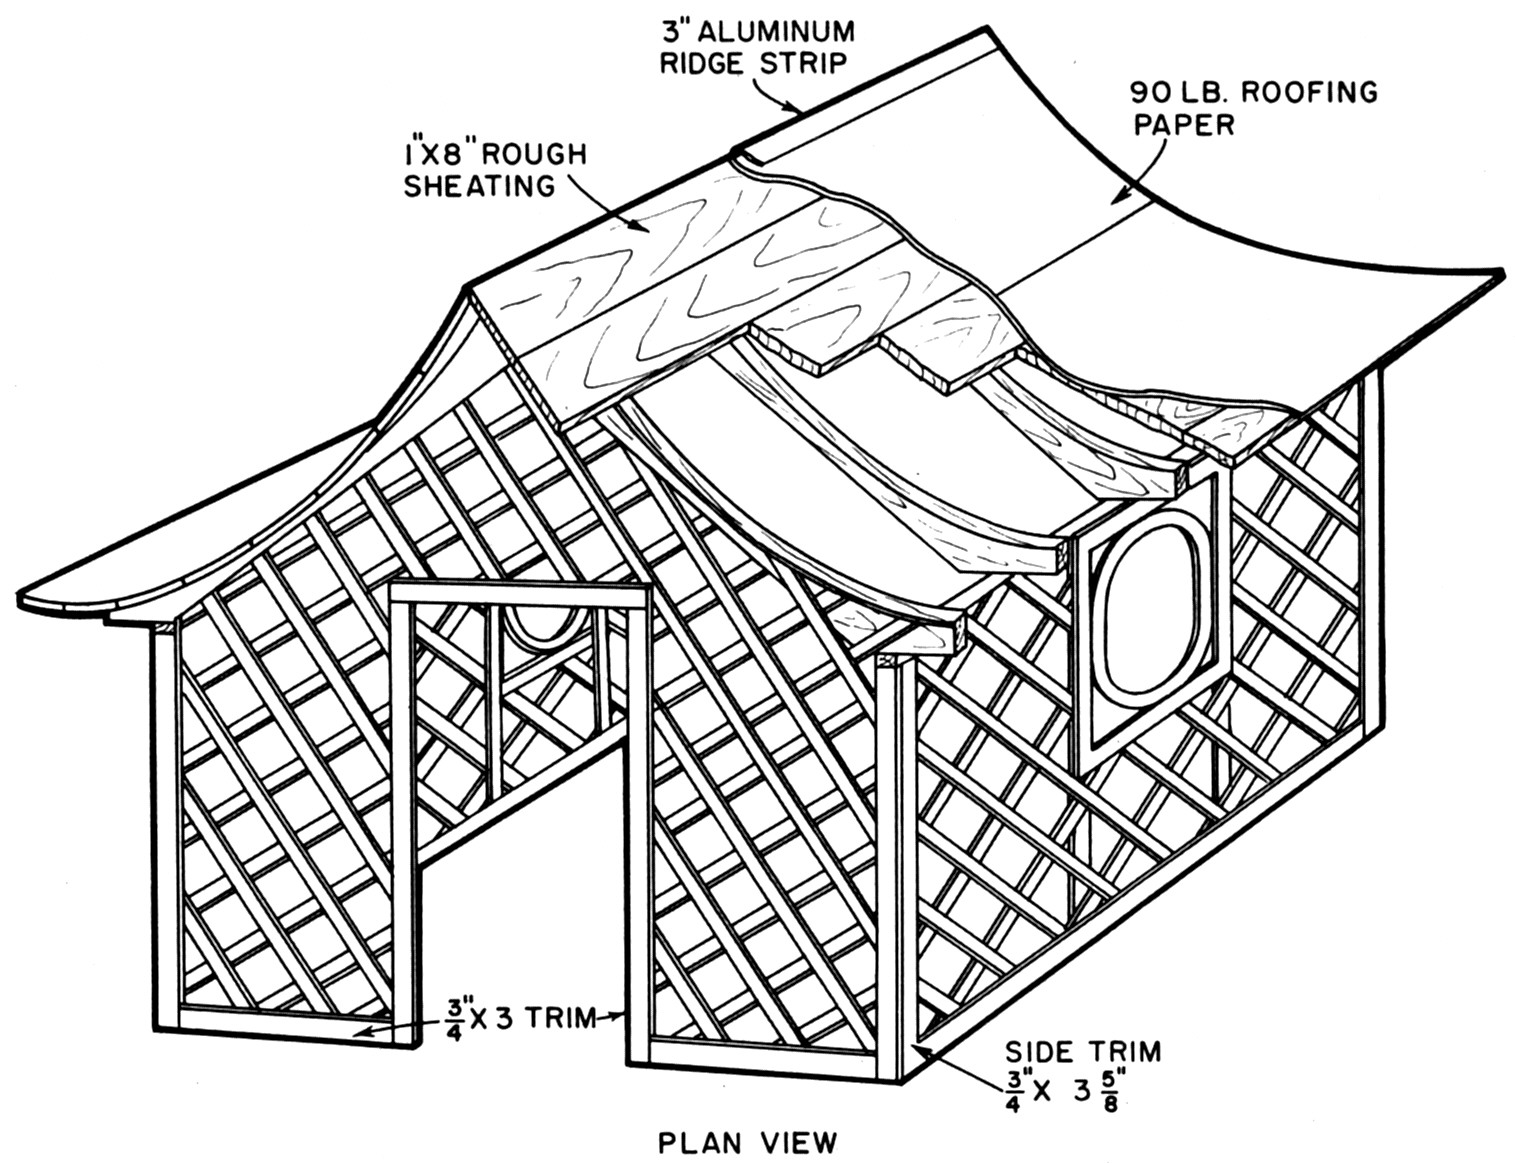
The frame work of the house is made of 2x4 stock with crossed slates or lattice strips 5/16-inches thick by 1½-inches wide, angled at 45 degrees and spaced about 6 inches apart. The double plates on the sides to support the rafters are made of 2x4 stock ripped 3-inches wide. Two by four uprights are used as corner posts. Assemble the two long sides first before placing upright, including the oblong window openings, see side view of drawing. Before placing the sides in position, paint the bottom portion with a wood preservative to prevent rotting.
Raise the assembled sides to an upright position and hold these together with temporary supports until all lattice pieces have been nailed in place on the front and back of the structure.
In place of the conventional straight rafters, curved lifters can be made from 2x6 stock for an unusual design effect. For a 6-foot wide house, the rafters are laid out as indicated in the front view of the drawing. Two arcs are scribed, one with a 51-inch radius and the other with a 34-inch radius, a flat portion of 2-7/8 inches joins both arcs. Before band sawing the curved portion, make the three angle cuts. The ridge end is cut first, with the miter gage set at 80 degrees, see Photo No. 2. With the same miter gage setting, (80 degrees) make the opposite angle cue of the rafter, Photo No. 3. Because of the shallow angle of the rafter that rests on the double plate, it is necessary to make this cut on the band saw, Photo No. 4. After all angle cuts are made, proceed to cut the top curve of the rafter, Photo No. 5. Space the rafters on 24-inch centers, toe nailing the top edge of the rafter to the ¾x6 inch ridge board. One by six or one by eight shearing is next nailed to the rafters with building paper over the sheeting and a 90 pound roofing paper over that. A 3 or 4inch aluminum ridge strip completes the roof.
Apply a thorough coating of wood preservative over the entire structure before painting. Finish paint with an outside paint color of yaw choice.
|
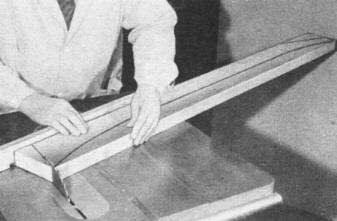
Photo #2
The first angle cut (A) of the curved rafters is made on the circular saw with the miter gage set at 80 degrees.
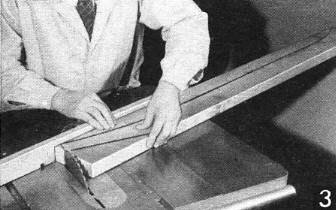
Photo #3
With the same miter gage setting (80 degrees) the short angle (B) is cut on the circular saw as shown above.
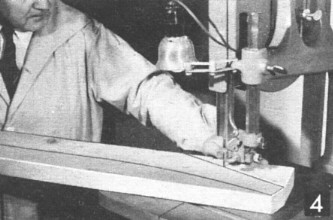
Photo #4
Because of the extreme angle of angle (C), it has to he cut free hand on the band saw. For a fast smooth cutting blade use the skip tooth.
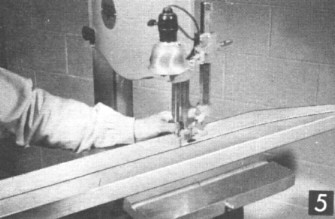
Photo #5
A ¼-inch, No. 28-884, skip tooth blade is used for cutting the curved portion of the 2x6 rafters.
|