|
Going to bed can be a game for junior if you build this boat-shaped bed.
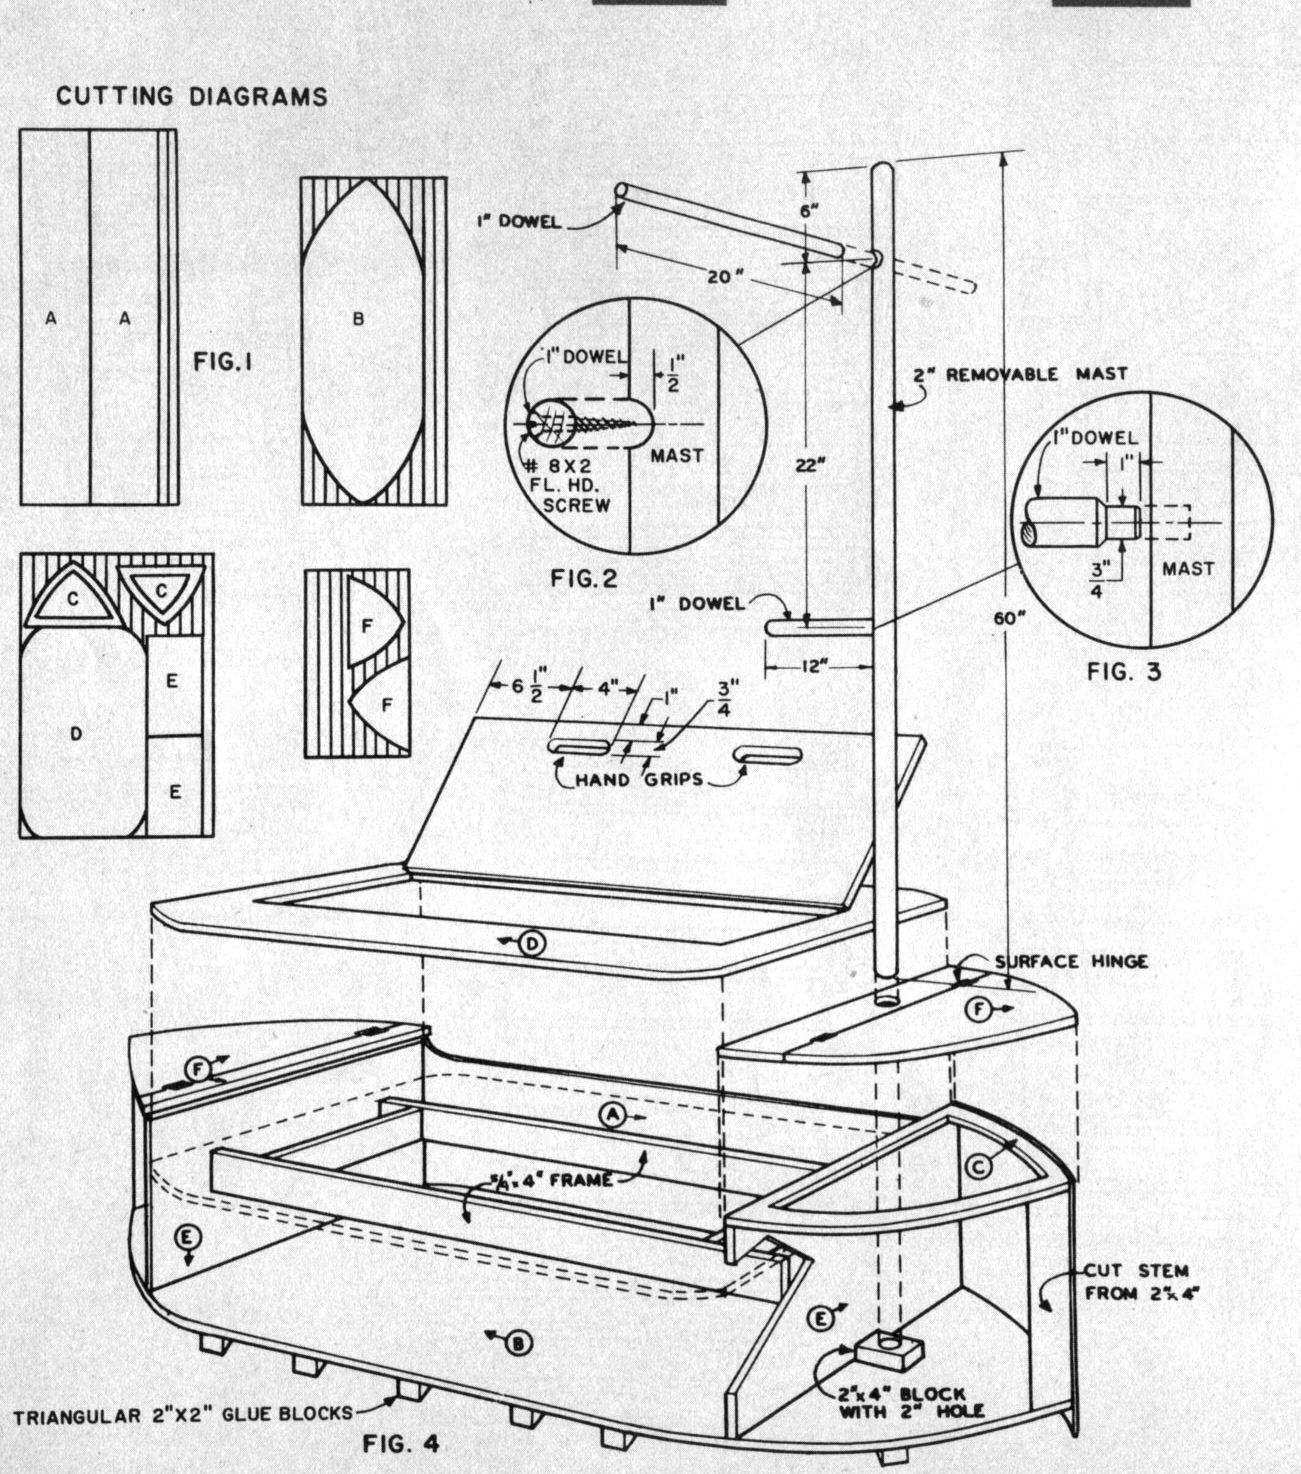
There are lockers with hinged tops at each end for storage of toys and other belongings. In the section under the mattress, there is additional storage space for blankets, bedding, etc. The mast makes a convenient clothes hanger.
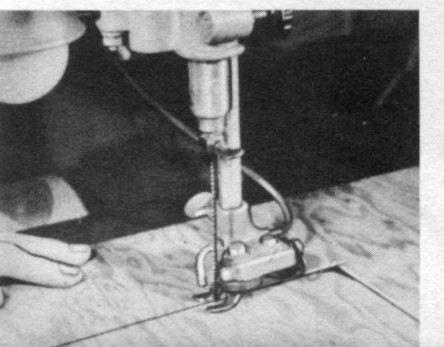
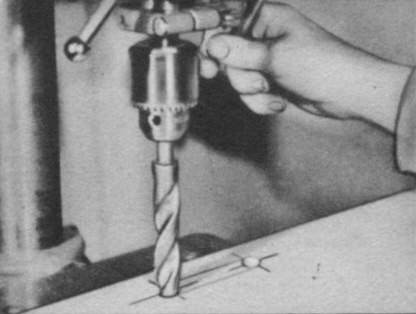
Cut out the parts on pieces of plywood as suggested in the cutting diagram, Fig. 1. In making the cutout for the lid in part “D”, drill a hole large enough for the No. 92 scroll saw blade to pass through. Make one complete cut by positioning the blades as shown in Photo. No. 2 with the bulk of the stock towards the outside of the machine. If the stock is reversed, it would strike the overarm of the scroll saw.
Drill ¼ inch holes at the inside corners of parts “C” to start the scroll saw blade. For hand grips on lid of part "D", drill ¾ inch holes at each end, Photo. No. 3, and remove material between using the scroll saw.
Cut and assemble the frame from 1 1/8 inch thick stock. Fasten the bulkhead “E” to each end of the frame and nail this sub-assembly to bottom “B”.
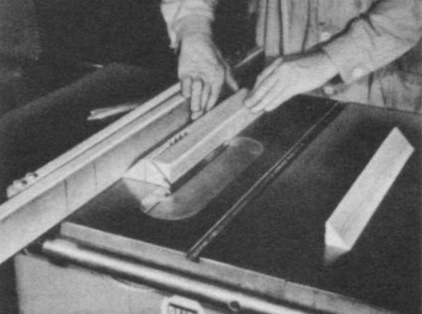
The stems are made of 2 x 4 stock by setting the blade on the circular saw at 45°. Fasten frames “C” to top edge of bulkhead and install stems as shown in Fig. 4.
|
After cutting out the side openings in hull sides “A”, cut the end edge at 45° along one end of each side, fit the pieces for length and make 45° cuts on the opposite ends. Fasten 2 x 2 glue blocks to the under side of the bottom "B" and sides “A”, see Fig. 4.
Drill 2-inch hole in back portion of part “F” for mast as indicated in Fig. 6. Use 1½ inch x 2½ inch tight pin hinges which can either be fastened flat on pieces “F” or mortised in the edges in the conventional manner.
A ¾ inch hole is drilled 30 inches from the top of the mast for the lower arm. (Fig. No. 3). A slot 3/8-inchs deep is cut in the mast for the top cross arm as shown in Fig. 2. Set the mast vertical and mark off location of the hole in the 2 x 4 block at the bottom
Sand all parts well making sure to break all sharp corners. Fill all nail and screw holes with wood paste. When paste hardens, sand with 3-O garnet paper. Use non-toxic finishes. For a paint finish, apply one coat of fl?at undercoat. Next apply a second coat undercoat, slightly tinted with finish color. For a final coat, apply a semi-gloss enamel. The trim is painted in red and blue.
For a natural finish, (blonde), apply coat of interior white undercoat thinned so grain pattern shows through. Follow with clear lacquer, shellac or varnish. |