|
Face-plate and chuck turning open an entirely new ?eld of work from that taken up in previous chapters of this book. If handled correctly, it has much greater educational and practical value than cylinder turning. From the practical standpoint the field of work is broader and the models to be made are of much greater value. Aside from this, trade methods and practices can be applied and a broad insight into commercial work can be given the student.
In some details of chuck turning the tool operations already learned can be employed, but for the most part they are entirely different. In order to preserve the educational value of the work as brought out by skill and dexterity in handling tools, it will be necessary to use the cutting method wherever possible. In some instances that method will be impossible, and the scraping method must be used.
METHODS OF FASTENING STOCK
All the work thus far has been on models where the stock worked upon is held between the live and dead centers. In face-plate and chuck turning the work is done at the head stock only and the piece is supported by means of a face-plate, or chuck, that is fastened to a face- plate, which is screwed onto the end of the live spindle. There are three methods of fastening stock to the face- plate, and it depends upon the nature of the exercise or model to be made which method is used.
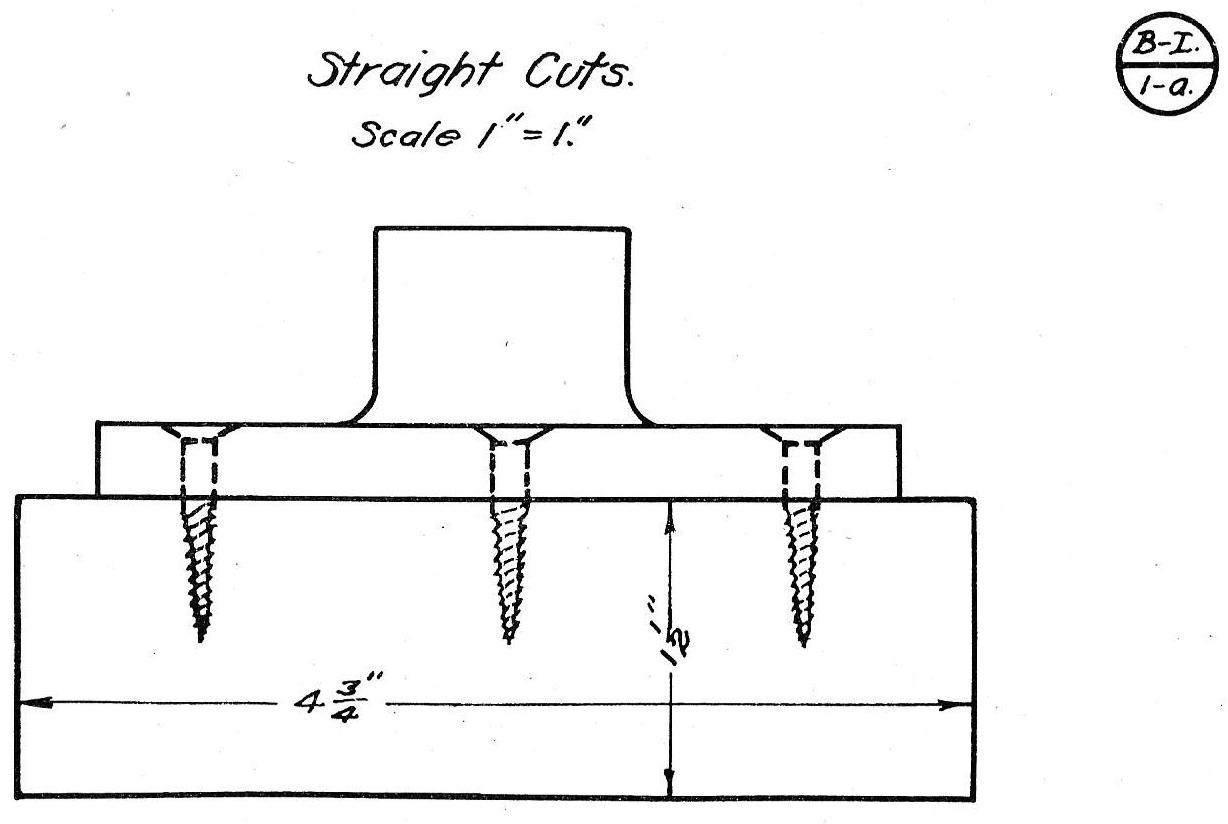
1. SMALL SINGLE SCREW FACE-PLATE. For all work that does not require deep cutting in the center, such as in towel rings, picture frames, etc., the small face-plate with a single screw should be used. Note :Should it be found difficult to keep the block from working loose and turning, it is a good plan to fold a piece of sandpaper, grit side out, and place it between the faceplate and the stock.
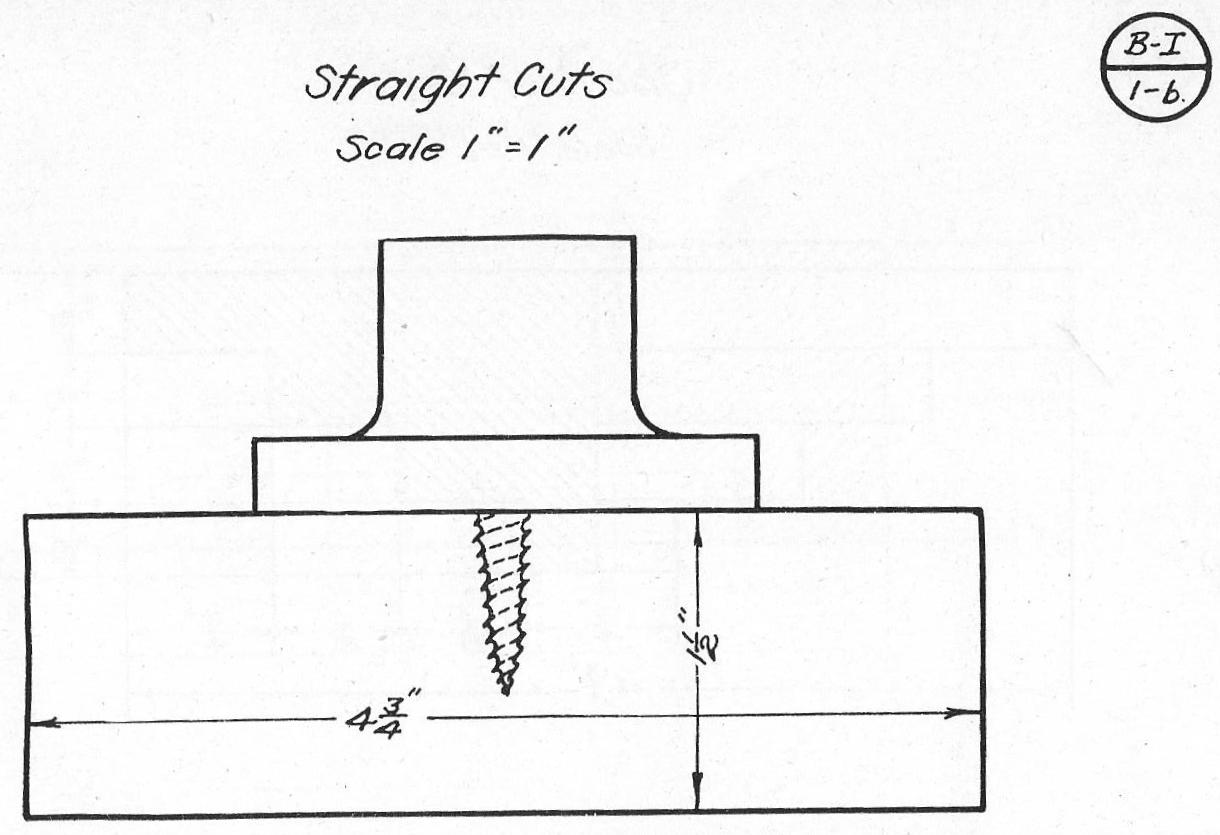
Single Screw Face Plate |
Large Surface Screw Face Plate |
2. LARGE SURFACE SCREW FACE-PLATE. For all work that does not require deep cutting on the outside, such as exercises, jewel boxes, etc., as well as all large stock, and all stock from which chucks are to be made, the large face-plate with the surface screws should be used.
3. GLUING TO WASTE STOCK. A block of scrap wood is fastened to a face-plate the same as for a chuck and surfaced off square. The block from which the model is to be made is planed square on one side and glued to the block on the face-plate with a sheet of paper between the two. To separate the model from the chuck, after it is completed, place a chisel on the waste stock, 1/16" back of the glue joint at such a point as will bring the chisel parallel to the grain of the model, and strike lightly with a mallet. This will cause the paper to separate and the model to become free.
This method will be found very convenient especially on models where the base is to be left straight. It will also be found to save much stock when working with expensive woods.
|
LATHE ADJUSTMENTS
To get the best results in face-plate or chuck turning there should be no end play in the spindle of the lathe. The spindle should always be tested out, and if any play is found, should be adjusted before attempting any work. It is almost impossible to make a true cut when such a condition obtains.
POSITION OF TOOL REST
For all face-plate and chuck turning the tool rest should be kept as close to the stock as possible, the same as in spindle turning, regardless of the angle it may be set. Vertically, the rest in most cases should be sufficiently below the center of the stock to bring the center or cutting point of the tools used, when held parallel to the bed of the lathe, even with the center of the stock. This last condition will necessitate adjusting the height occasionally when changing from large to small tools.
| |
|
| |
|
|
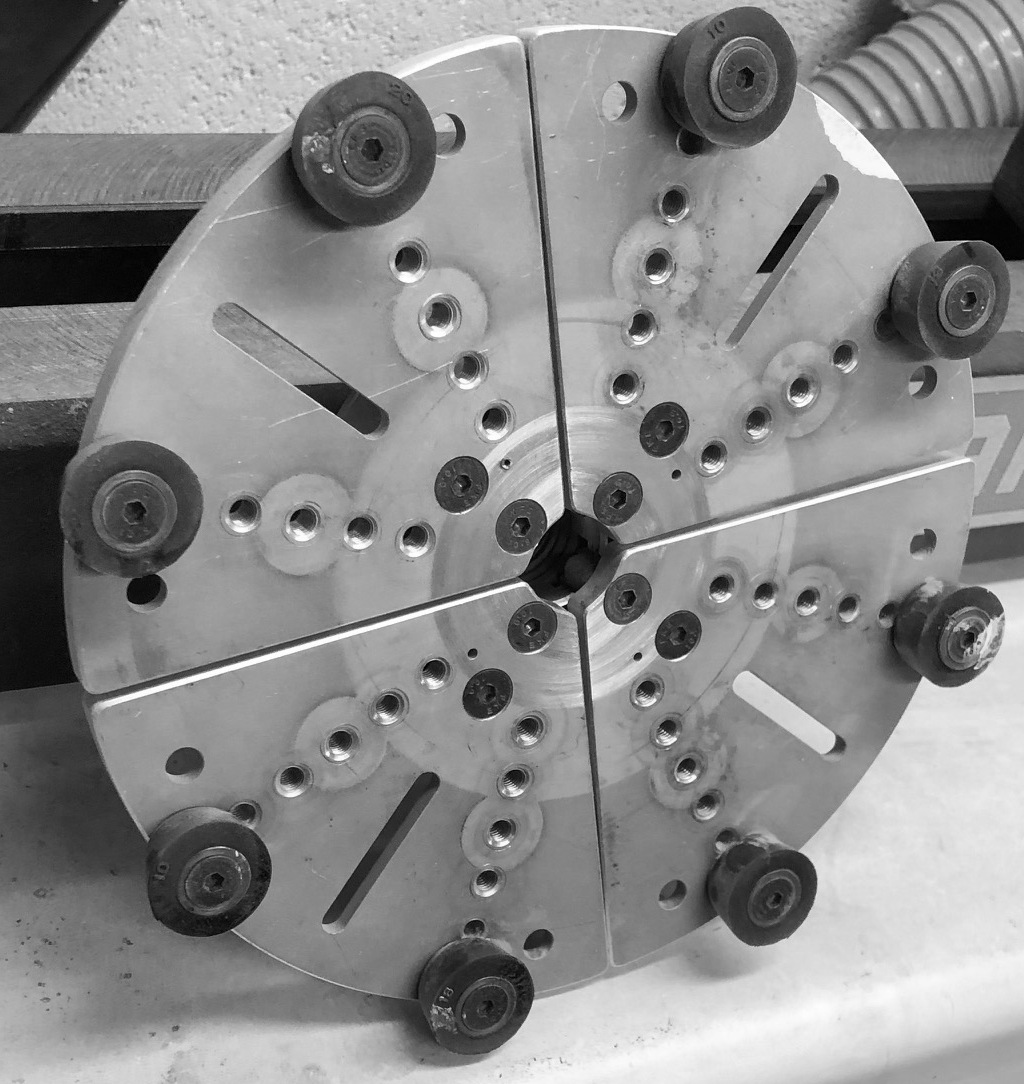
There are several new methods for headstock mounting available.
The most convenient is the adjustable jaw chuck - similar to the jaws of the chuck on an electric drill. It typically comes with multiple size jaws to allow mounting various sized projects but I purchased multiple units to avoid having to change out the jaws every time I change to different size material. You must first turn a small (about ½") round base on the bottom of work work for the chuck jaws to close onto and securely grab your work. I turn this by mounting the starting piece between a headstock spur bit and the tailstock.
|
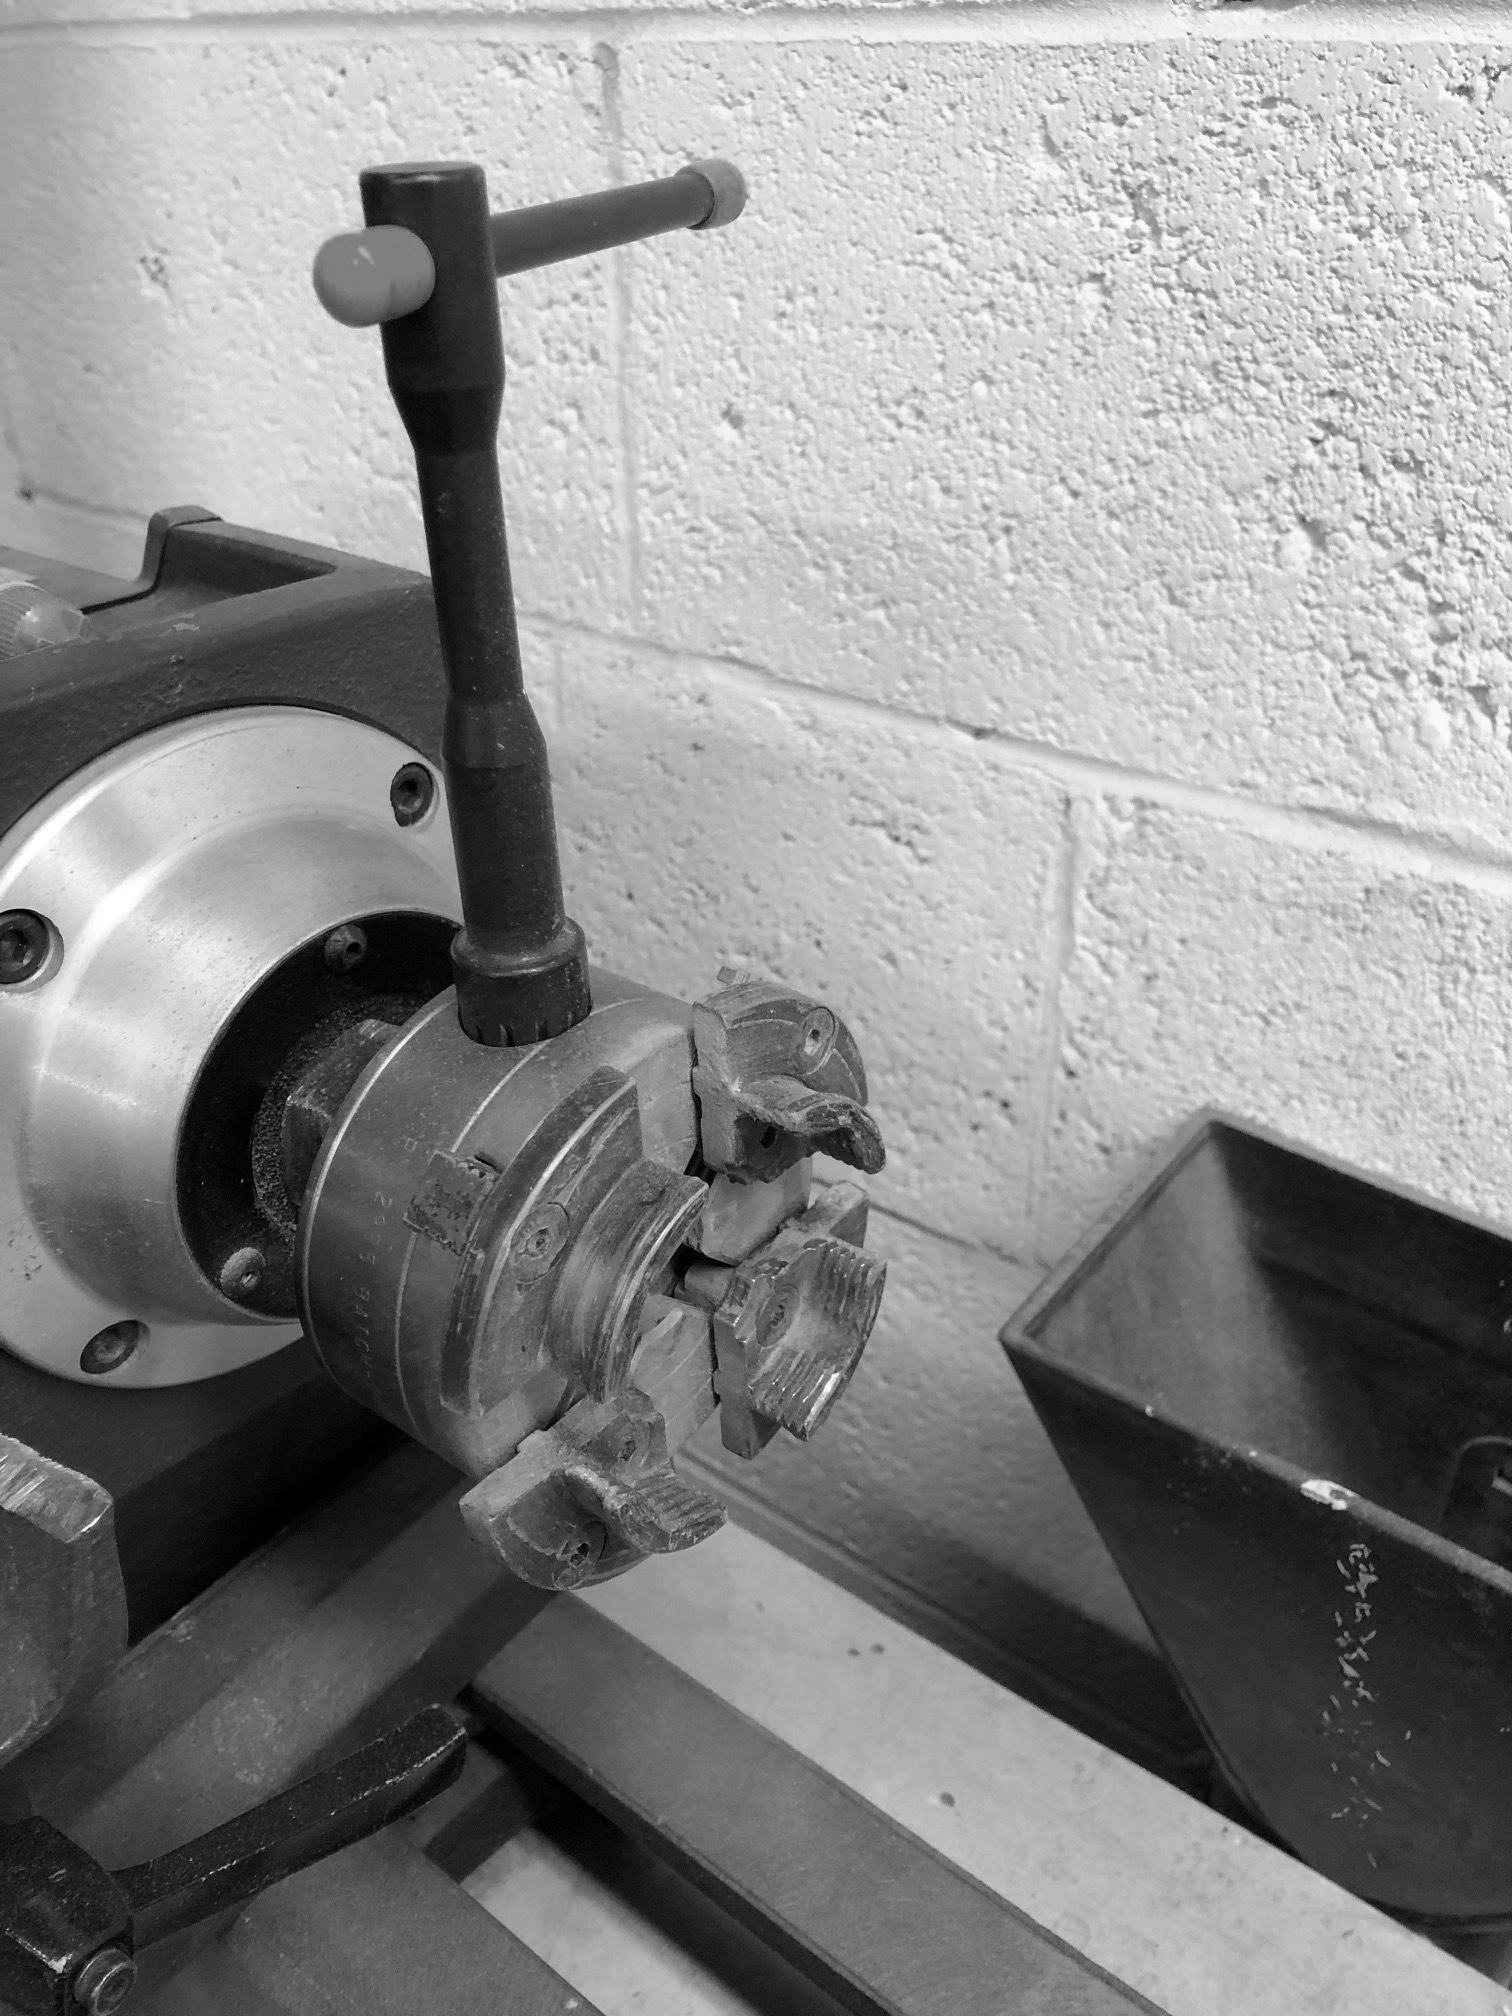
Adjustable Jaw Chuck
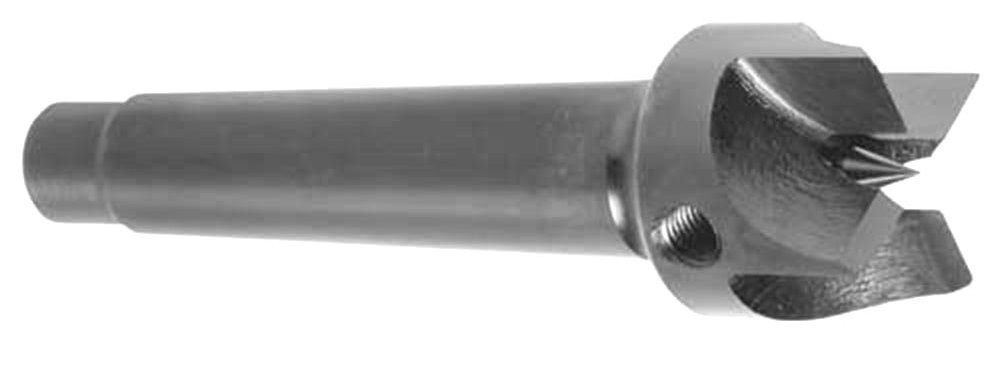
Spur Headstock Bit
|
|
Another is for gripping the lip of an item you have turned to facilitate cleaning up the bottom. It mounts on the same headstock as the adjustable jaws. Once you have completed the turning, you adjust the rubber grippers in and out to hold the bowl while you finish cutting and clean up the base. The top lip of the bowl must be smooth so this, unfortunately, does not work for natural-edge turnings where the lip is certainly not smooth and even.
|
Cleanup faceplate
|
|